Interactive Recordings with Timed Metadata
Dyte's interactive recording feature allows you to add timed metadata to your video stream. Timed metadata serves as cue points for clients to display information and trigger time-aligned actions. The metadata is available to clients in the form of ID3 tags on the playback timeline.
What is interactive recording?
Ever wondered how Netflix displays small images on the seek bar or how additional content is shown while watching a cricket match on Hotstar? It's all metadata inserted at a specific time inside the video feed itself, which is called timed metadata.
Timed metadata is metadata with timestamps. It refers to digital markers added to a video file to provide additional context and information at specific points in the content range. These data points can be inserted into a stream programmatically, using the interactive_config in the Start recording a meeting API.
Once Dyte processes the stream, the timed metadata gets synchronized with the audio and video frames. This metadata is available to all viewers during playback at the same time relative to the stream. The timecode acts as a cue point and can trigger specific actions based on the data. For example:
These features are made possible through the use of ID3 tags that are embedded in the video segments, making them available in the recorded video.
Add interactivity to your Dyte recordings
To add interactivity to your Dyte recording, perform the following steps:
- In the Start recording a meeting API, pass the
interactive_configparameter.
This parameter enables you to add timed metadata to your recordings, which is made available to clients in HLS format via ID3 tags. The output files are packaged as a tar file.
- In DyteClient, call the
broadcastMessagemethod with the parameters,ID3(as a string) andyourData(the data you want to send as timed metadata) on the participants object.
client.participants.broadcastMessage(“ID3Data”, yourData);
This action should only be performed after the recording has been initiated and the system is in the RECORDING state. If performed earlier, any associated ID3 tags may be lost.
The recommended time to perform this action is after the recording indicator has been displayed for 3 to 4 seconds.
- To stop sending the data, call the following method. Once you make this call, you will no longer be able to send additional ID3 data.
client.participants.broadcastMessage(“ID3Data”,”CLOSE_TRANSPORT”)
If you do not pass this parameter, the ID3 metadata stream will automatically be closed when the recording is stopped.
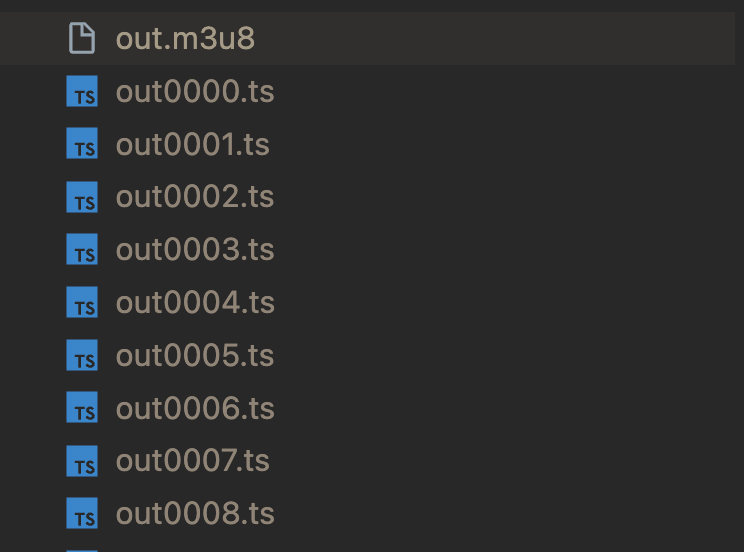
- Once the recording is completed, you can retrieve the tar file that contains video segments and a playlist file. The
download_urlprovides the link to the tar file. Below is an example screenshot of a tar file:

It's also important to note that the length of each segment depends on the frames of the video. Therefore, each segment may not have the same length, although it is typically close to the specified segment length when the recording was started. By default, the segment length is set to 10 seconds.
- You can play the stream using the
hls.js.
const onFragChanged = (_) => {
  // We first try to find the right metadata track.
  // https://developer.mozilla.org/en-US/docs/Web/API/TextTrack
  const textTrackListCount = videoEl.textTracks.length;
  let metaTextTrack;
  for (let trackIndex = 0; trackIndex < textTrackListCount; trackIndex++) {
    const textTrack = videoEl.textTracks[trackIndex];
    if (textTrack.kind !== 'metadata') {
      continue;
    }
    textTrack.mode = 'showing';
    metaTextTrack = textTrack;
    break;
  }
  if (!metaTextTrack) {
    return;
  }
  // Add an oncuechange listener on that track.
  metaTextTrack.oncuechange = (event) => {
    let cue = metaTextTrack.activeCues[metaTextTrack.activeCues.length - 1];
    console.log(cue.value.data);
  };
};
// listen on Hls.Events.FRAG_CHANGED from hls.js
hls.on(Hls.Events.FRAG_CHANGED, onFragChanged);