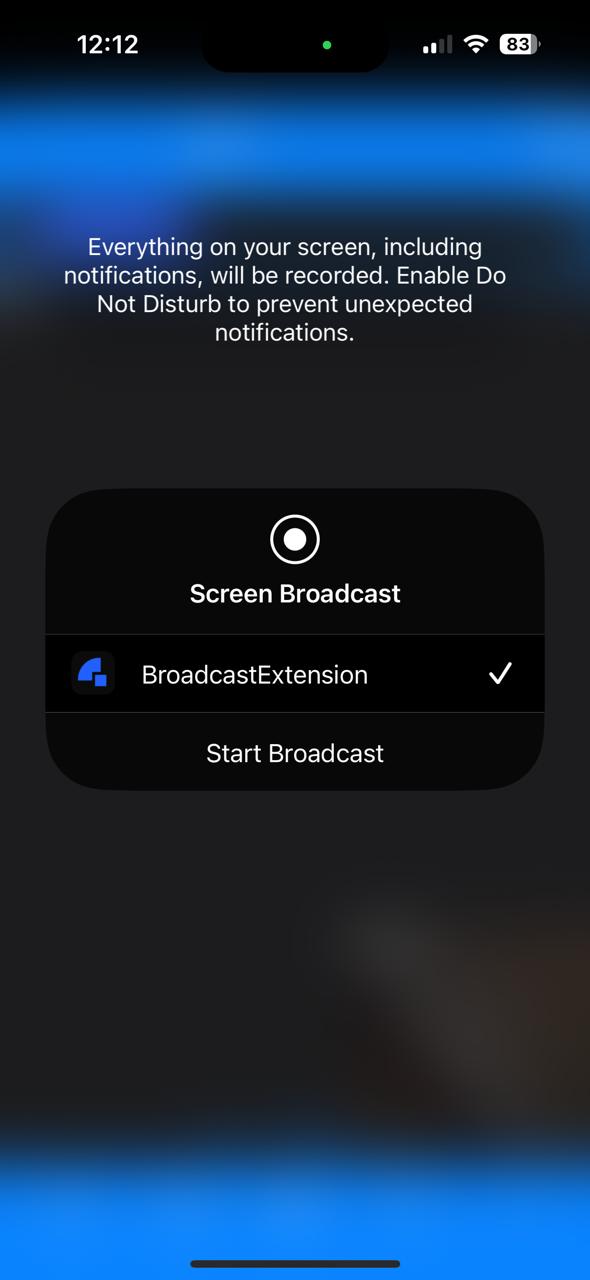
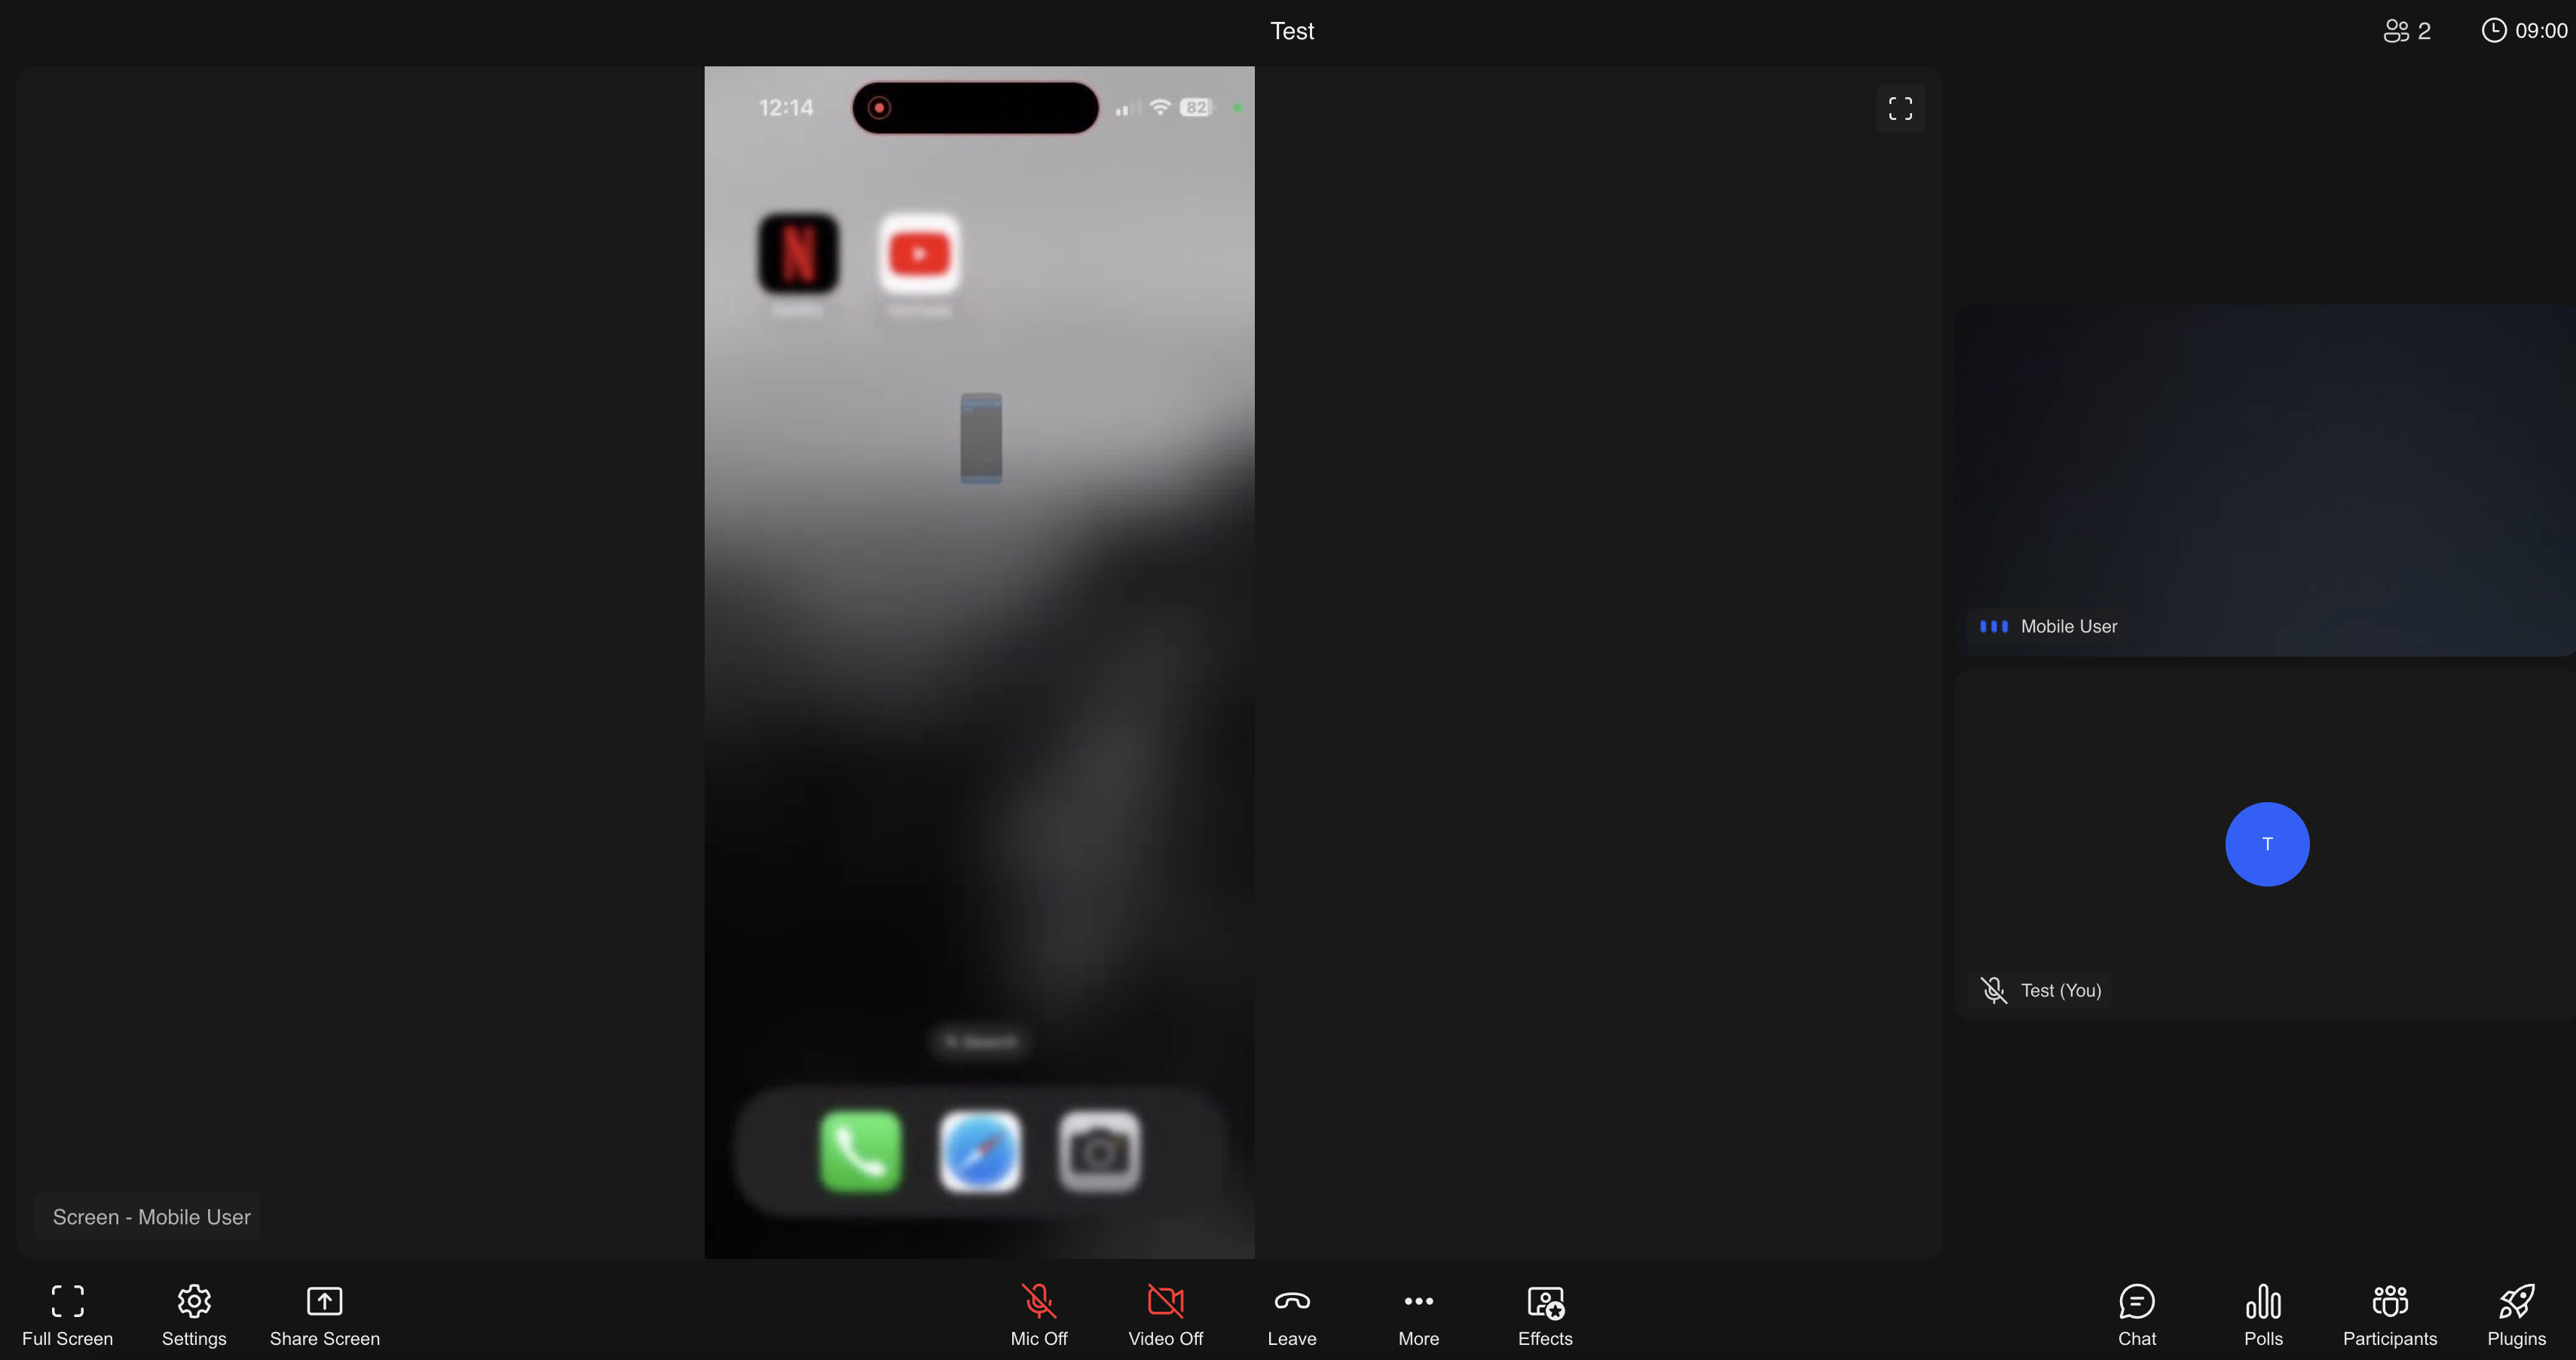
Sharing screen on iOS
This document explains how to setup screen sharing on a Flutter iOS App using Dyte SDK
Overview
- Add a new Broadcast Upload Extension to your project.
- Setup app groups
- Have your SampleHandler class initialize DyteBroadcastHandler and proxy a few methods.
- Update Info.plist
Add a new Broadcast Upload Extension to your project.
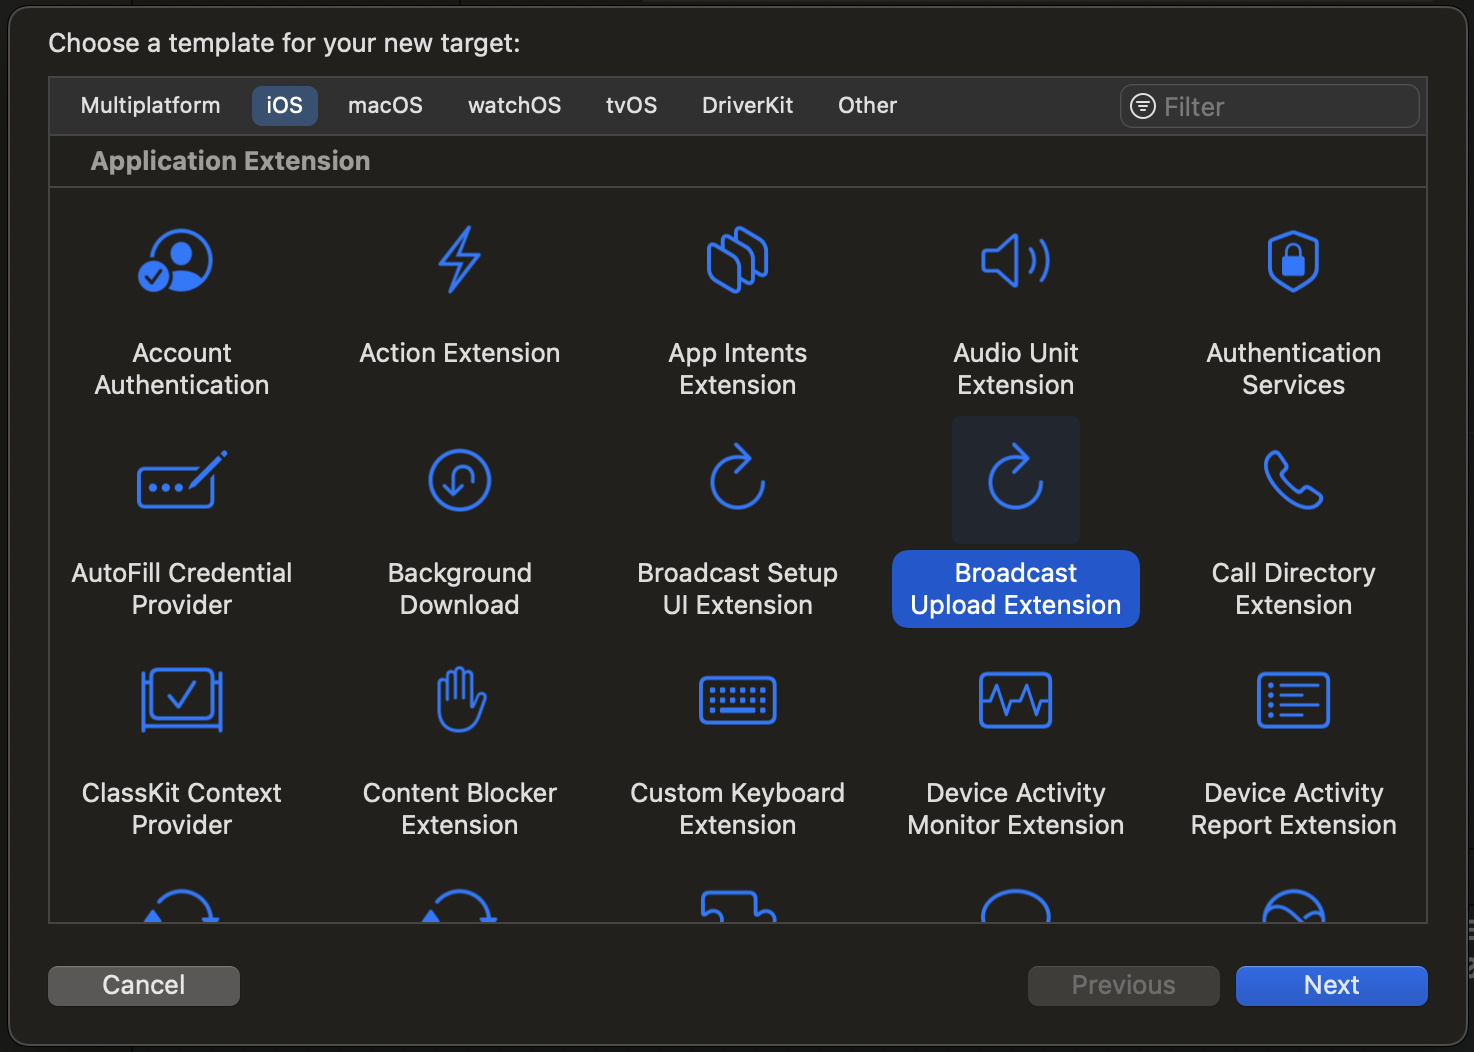
Add a Broadcast Upload Extension through File -> New -> Target.
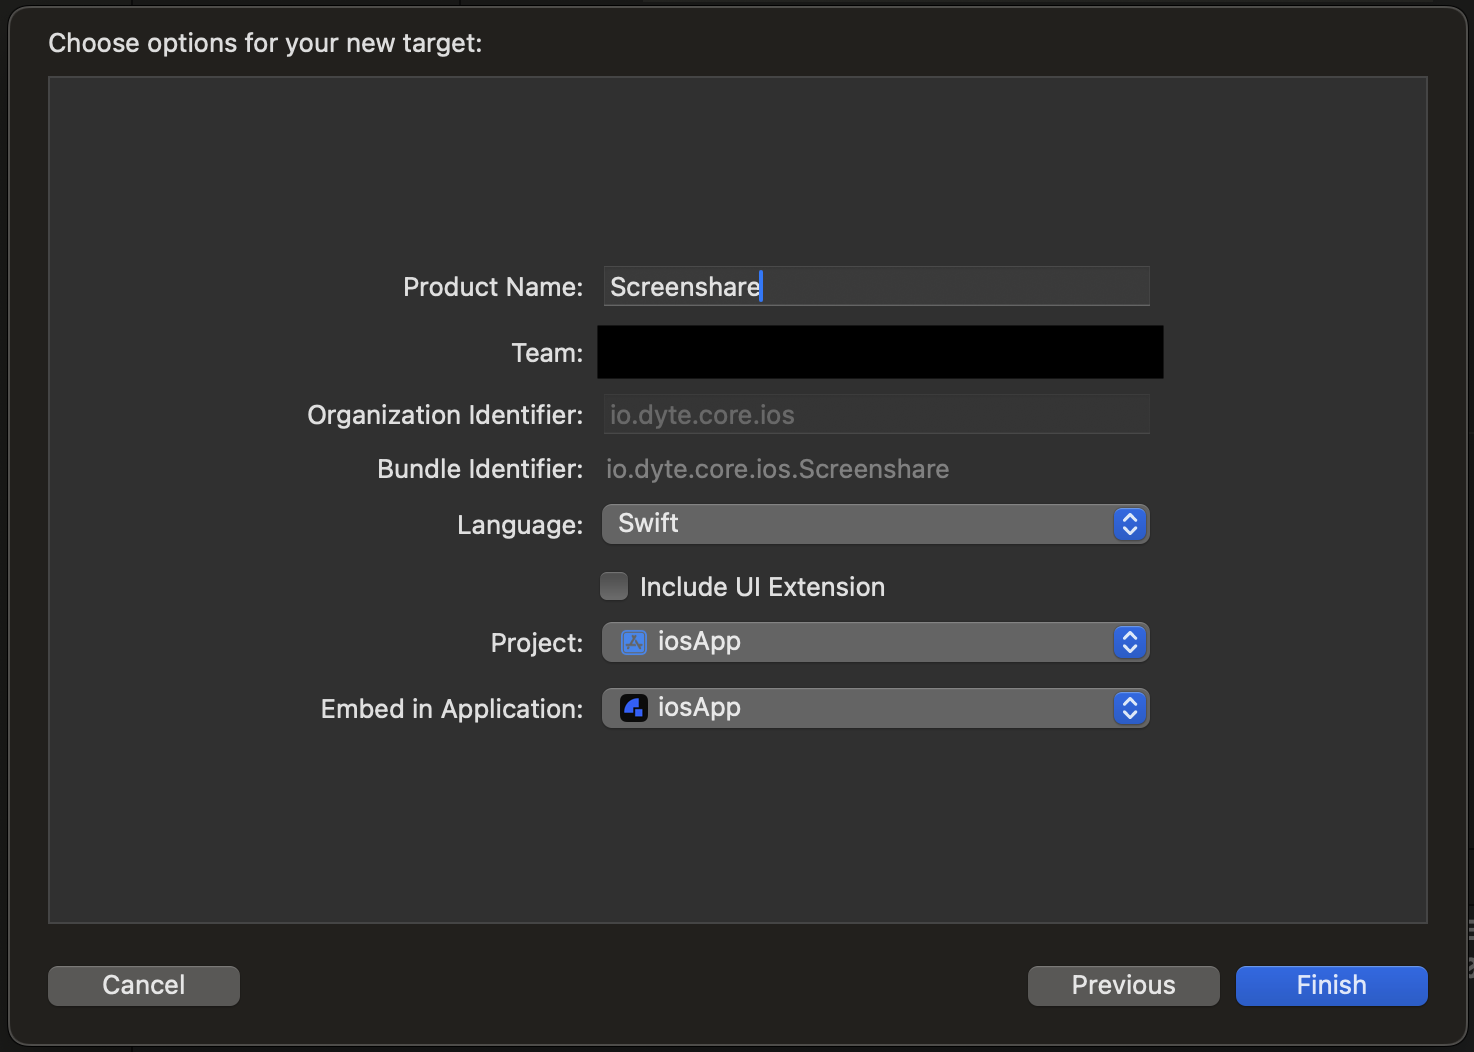
Choose iOS -> Broadcast Upload Extension and fill out the required information for your extension and click Finish.
Setup app groups
Add your extension to an app group by going to your extension's target in the project; in the Signings & Capabilities tab, click the + button in the top left and add App Groups. If you haven't done so already, add App Groups to your main app as well, ensuring that the App Group identifier is the same for both.
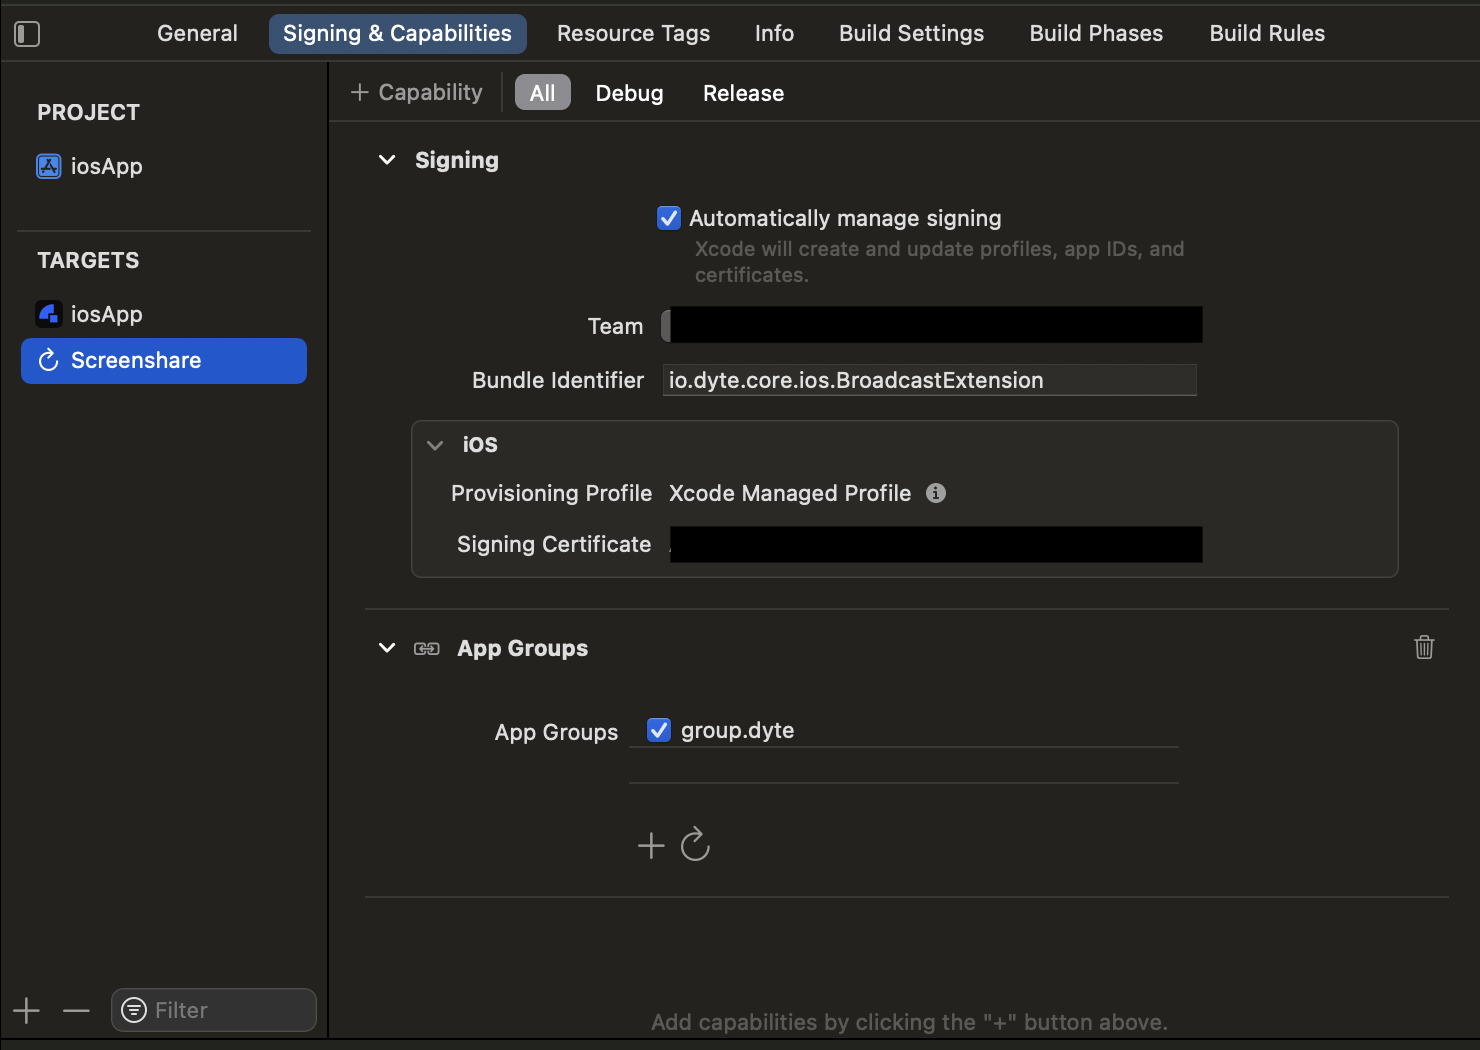
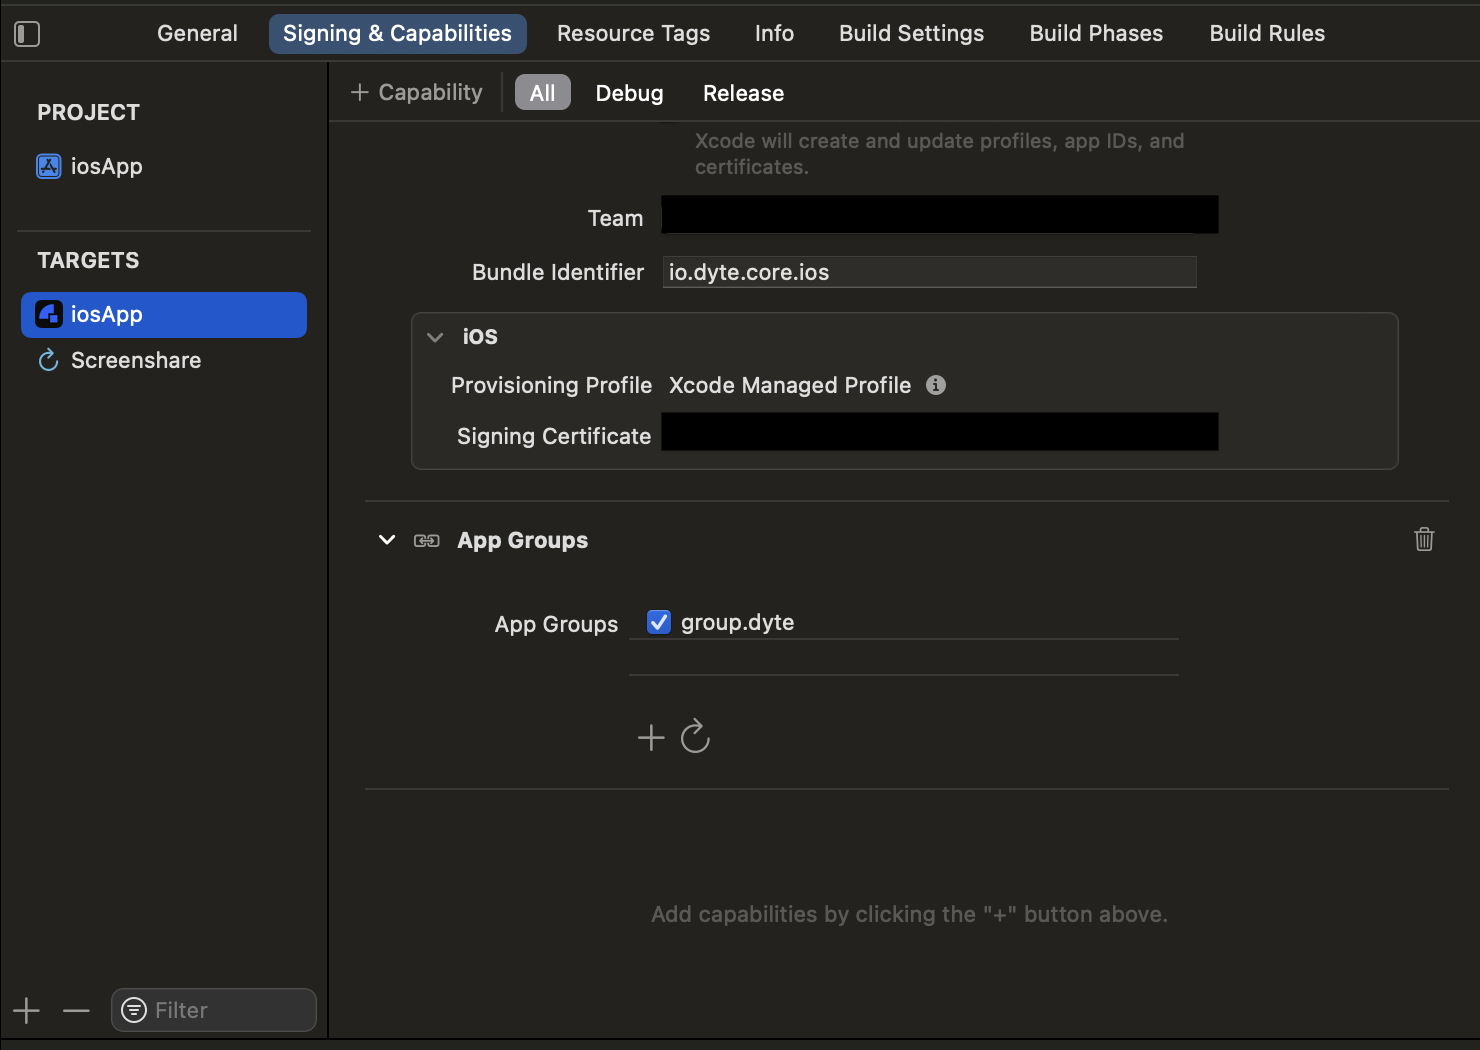
Setup SampleHandler
-
Place the
DyteSampleHandler.swiftfile present here in theios/<screenshare-folder>/folder in your flutter project. -
Create a
SampleHandler.swiftfile or replace the contents of the file if already present in the sameios/<screenshare-folder>/to look something like this:
import ReplayKit

class SampleHandler: DyteSampleHandler {

}
Modify Info.plist
Make sure both of them (App and Extension Info.plist) contains these keys
    <key>RTCAppGroupIdentifier</key>
	<string>(name of the group)</string>
	<key>RTCScreenSharingExtension</key>
	<string>(Bundle Identifier)</string>

Start the Screenshare
Call the method enableScreenshare()
dyteClient.localUser.enableScreenshare()
