Building Your Own UI
In this guide, we will walk you through building a custom UI to render participant videos using Dyte's Android UI Kit. We will use an example of a video calling app like FaceTime to demonstrate how to display participant videos in your own UI.
Video Calling Example
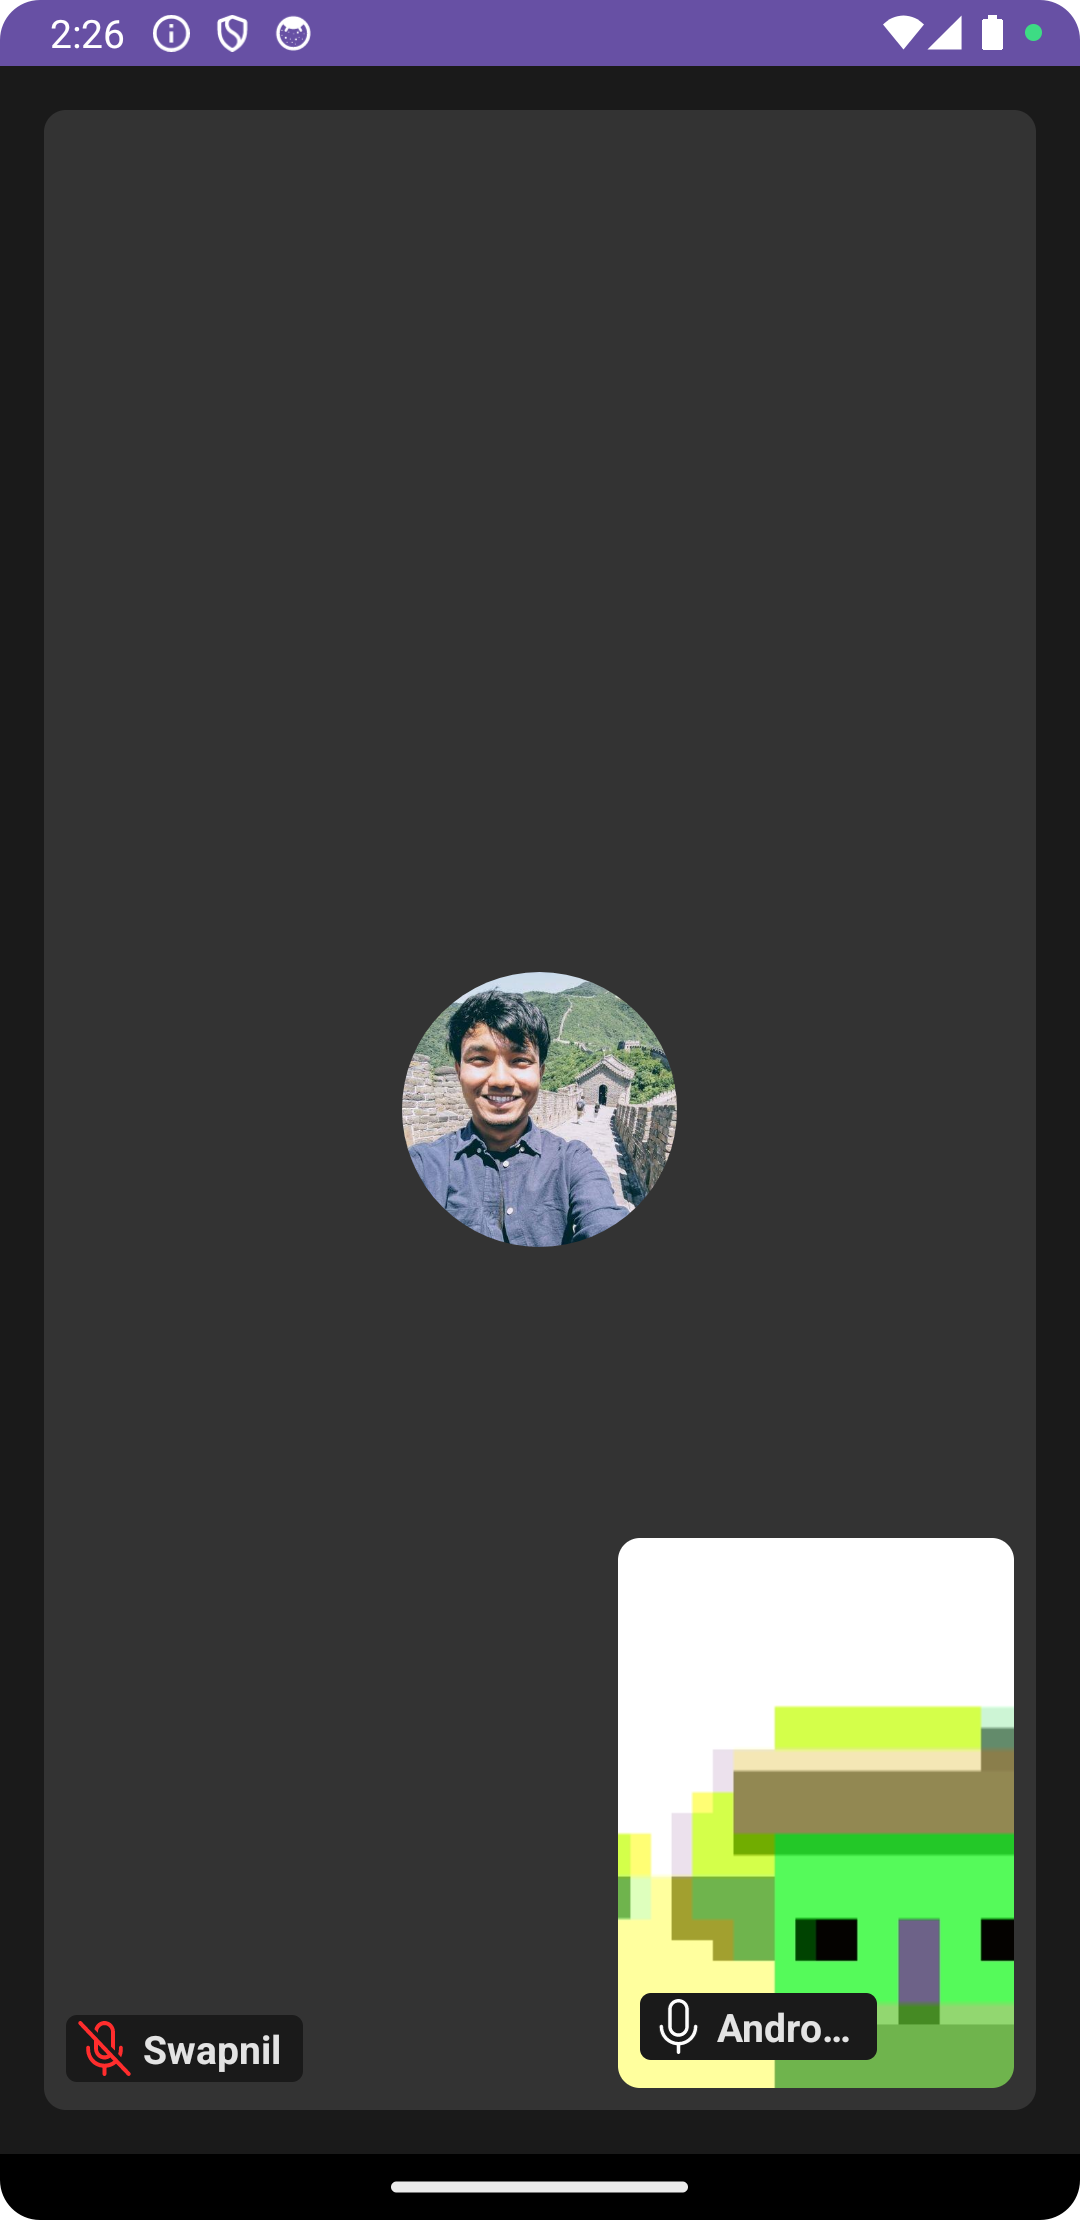
Let's consider a video calling app where two participants are in a call. The UI of our example app will feature:
- Remote Participant Tile: This tile will render the video of the other participant, occupying the main area of the screen
- Local User Tile: Positioned at the right-bottom corner, this tile will display your video i.e. of the local user

Using DyteParticipantTileView
To achieve this UI, we will utilize the DyteParticipantTileView provided by Dyte's Android UI Kit.
This custom Android view renders the video of a single participant and automatically handles displaying
the video or a placeholder when the participant turns their camera on or off.
Getting Started
Before we begin, let's understand the key components we'll be working with:
- DyteParticipantTileView: Renders the video of a single participant
- DyteJoinedMeetingParticipant: Represents a participant who has joined the meeting. The joined list
in
DyteParticipantsholds objects of this type - DyteSelfParticipant: Represents the local user
- DyteMobileClient: Provides access to meeting and participant information. Use the
meeting.participants.joinedlist to retrieve the list of participants who have joined the meeting
Building the UI
- XML Layout: Define the layout of your video calling screen. Use two
DyteParticipantTileViewsto represent the remote participant and the local user.
<?xml version="1.0" encoding="utf-8"?>
<androidx.constraintlayout.widget.ConstraintLayout
    xmlns:android="http://schemas.android.com/apk/res/android"
    xmlns:app="http://schemas.android.com/apk/res-auto"
    xmlns:tools="http://schemas.android.com/tools"
    android:layout_width="match_parent"
    android:layout_height="match_parent"
    tools:context=".VideoCallActivity">

    <dyte.io.uikit.view.participanttile.DyteParticipantTileView
        android:id="@+id/dyteparticipanttileview_remote_participant"
        android:layout_width="0dp"
        android:layout_height="0dp"
        android:layout_margin="16dp"
        app:layout_constraintBottom_toBottomOf="parent"
        app:layout_constraintEnd_toEndOf="parent"
        app:layout_constraintStart_toStartOf="parent"
        app:layout_constraintTop_toTopOf="parent" />

    <dyte.io.uikit.view.participanttile.DyteParticipantTileView
        android:id="@+id/dyteparticipanttileview_self_participant"
        android:layout_width="144dp"
        android:layout_height="200dp"
        android:layout_margin="24dp"
        app:layout_constraintBottom_toBottomOf="parent"
        app:layout_constraintEnd_toEndOf="parent" />

</androidx.constraintlayout.widget.ConstraintLayout>
- UI Logic: Bind the DyteParticipantTileViews to the respective participants and activate them to render the videos.
import dyte.io.uikit.view.participanttile.DyteParticipantTileView
import io.dyte.core.DyteMobileClient

class VideoCallActivity : AppCompatActivity() {
    private lateinit var selfParticipantTileView: DyteParticipantTileView
    private lateinit var remoteParticipantTileView: DyteParticipantTileView
    private val meeting: DyteMobileClient by lazy { DyteUIKitBuilder.meeting }

    override fun onCreate(savedInstanceState: Bundle?) {
        super.onCreate(savedInstanceState)
        setContentView(R.layout.activity_video_call)

        selfParticipantTileView = findViewById(R.id.dyteparticipanttileview_self_participant)
        remoteParticipantTileView = findViewById(R.id.dyteparticipanttileview_remote_participant)

        activateUI(meeting)
    }

    private fun activateUI(meeting: DyteMobileClient) {
        val localUser = meeting.localUser
        val remoteParticipant = meeting.participants.joined.firstOrNull { it.id != localUser.id } ?: return

        selfParticipantTileView.activate(localUser)
        remoteParticipantTileView.activate(remoteParticipant)
    }
}
- Adding Controls (Bonus): You can easily add controls like mic toggle, camera toggle, and leave call button using the DyteMicToggleButton, DyteCameraToggleButton, and DyteLeaveButton provided by Dyte's Android UI Kit.
Here's the screenshot of the UI implemented:
Wrap-Up
Congratulations! You've successfully built a custom UI to render participant videos using Dyte's Android UI Kit.
With components like DyteGridView and DyteParticipantTileView, Dyte's UI Kit simplifies video rendering
in meetings and offers the flexibility to create dynamic video calling experiences.
Complete Code
You can find the complete code for this example in Dyte's Facetime sample repository. Feel free to explore and try it out!