Create a Breakout Room
Breakout rooms allow the participants to split in separate sessions. The host can create breakout rooms, assign participants, start and close the breakout rooms.
Prerequisites
- For hosts ensure that you've created a preset with the Full Access permissions. See hosts permissions.
- For participants you've created a preset with Switch to Parent Meeting and/or Switch Connected Meetings permissions. See participants permissions.
To create a breakout room, do the following:
Step 1: Create a Dyte Developer Account
Login to the Developer Portal and create an account.
Step 2: Create Presets
A preset is a set of permissions and UI configurations that are applied to hosts and participants. They determine the look, feel, and behavior of the breakout room, with options to set varied permissions, such as the ability to create polls or chat, control access for plugins, and more.
For breakout rooms, you must provide the following permissions for hosts and participants in the Connected Meetings. However, ensure that you've provided other necessary permissions as well for your meeting other than the Connected Meetings permissions for hosts and participants.
Host
| Full Access | Permission |
|---|---|
 | Allows you to create breakout rooms, assign participants, start and close the breakout rooms, switch between breakout rooms. |
Participants
| Switch Connected Meetings | Permission |
|---|---|
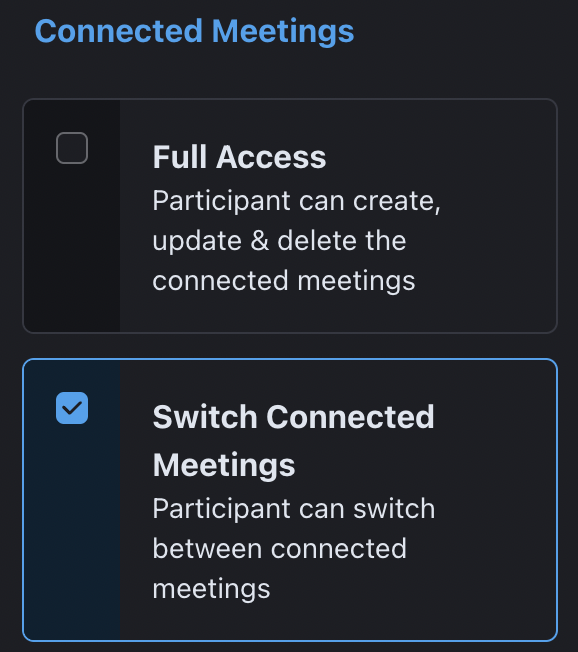 | Allows you to create breakout rooms, assign participants, start and close the breakout rooms, switch between breakout rooms. |
| Switch to Parent Meeting | Permission |
|---|---|
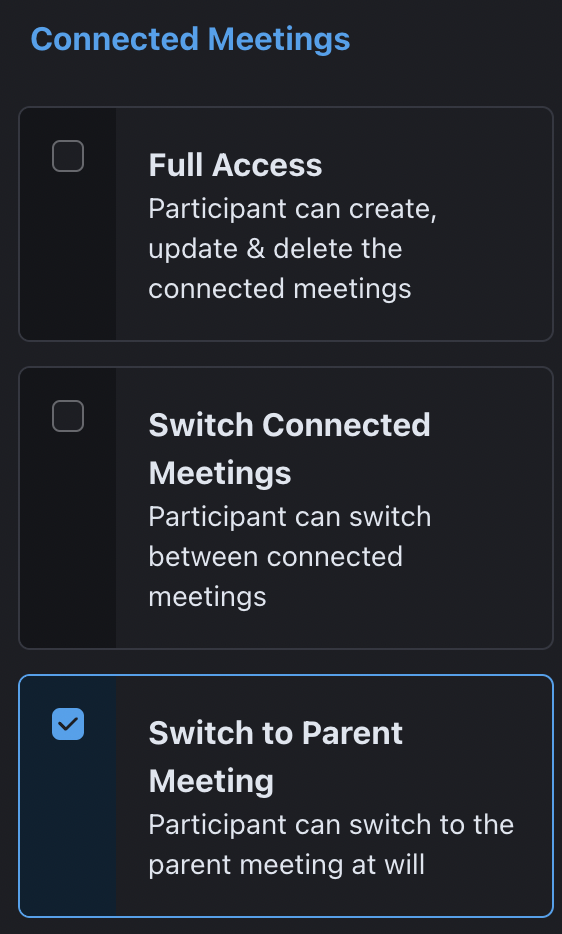 | Allows you to switch to the main meeting. |
You can choose to provide Switch Connected Meetings and Switch to Parent Meeting permissions both to the participants.
Step 3: Save the Preset Changes
- Once you've made all the changes that you need to add to your preset, click Save at the right-corner.
- Enter the name for your preset and click Save.
- Your preset is listed. Click Edit to make any changes to the preset.
Step 4: Create a Meeting
Create a Dyte meeting using the Create Meeting API. This API returns a unique identifier for your meeting.
Step 5: Add Participants
After you've created the meeting, add each participant to the meeting using the Add Participant API.
The presetName created earlier must be passed in the body of the Add Participant API request.
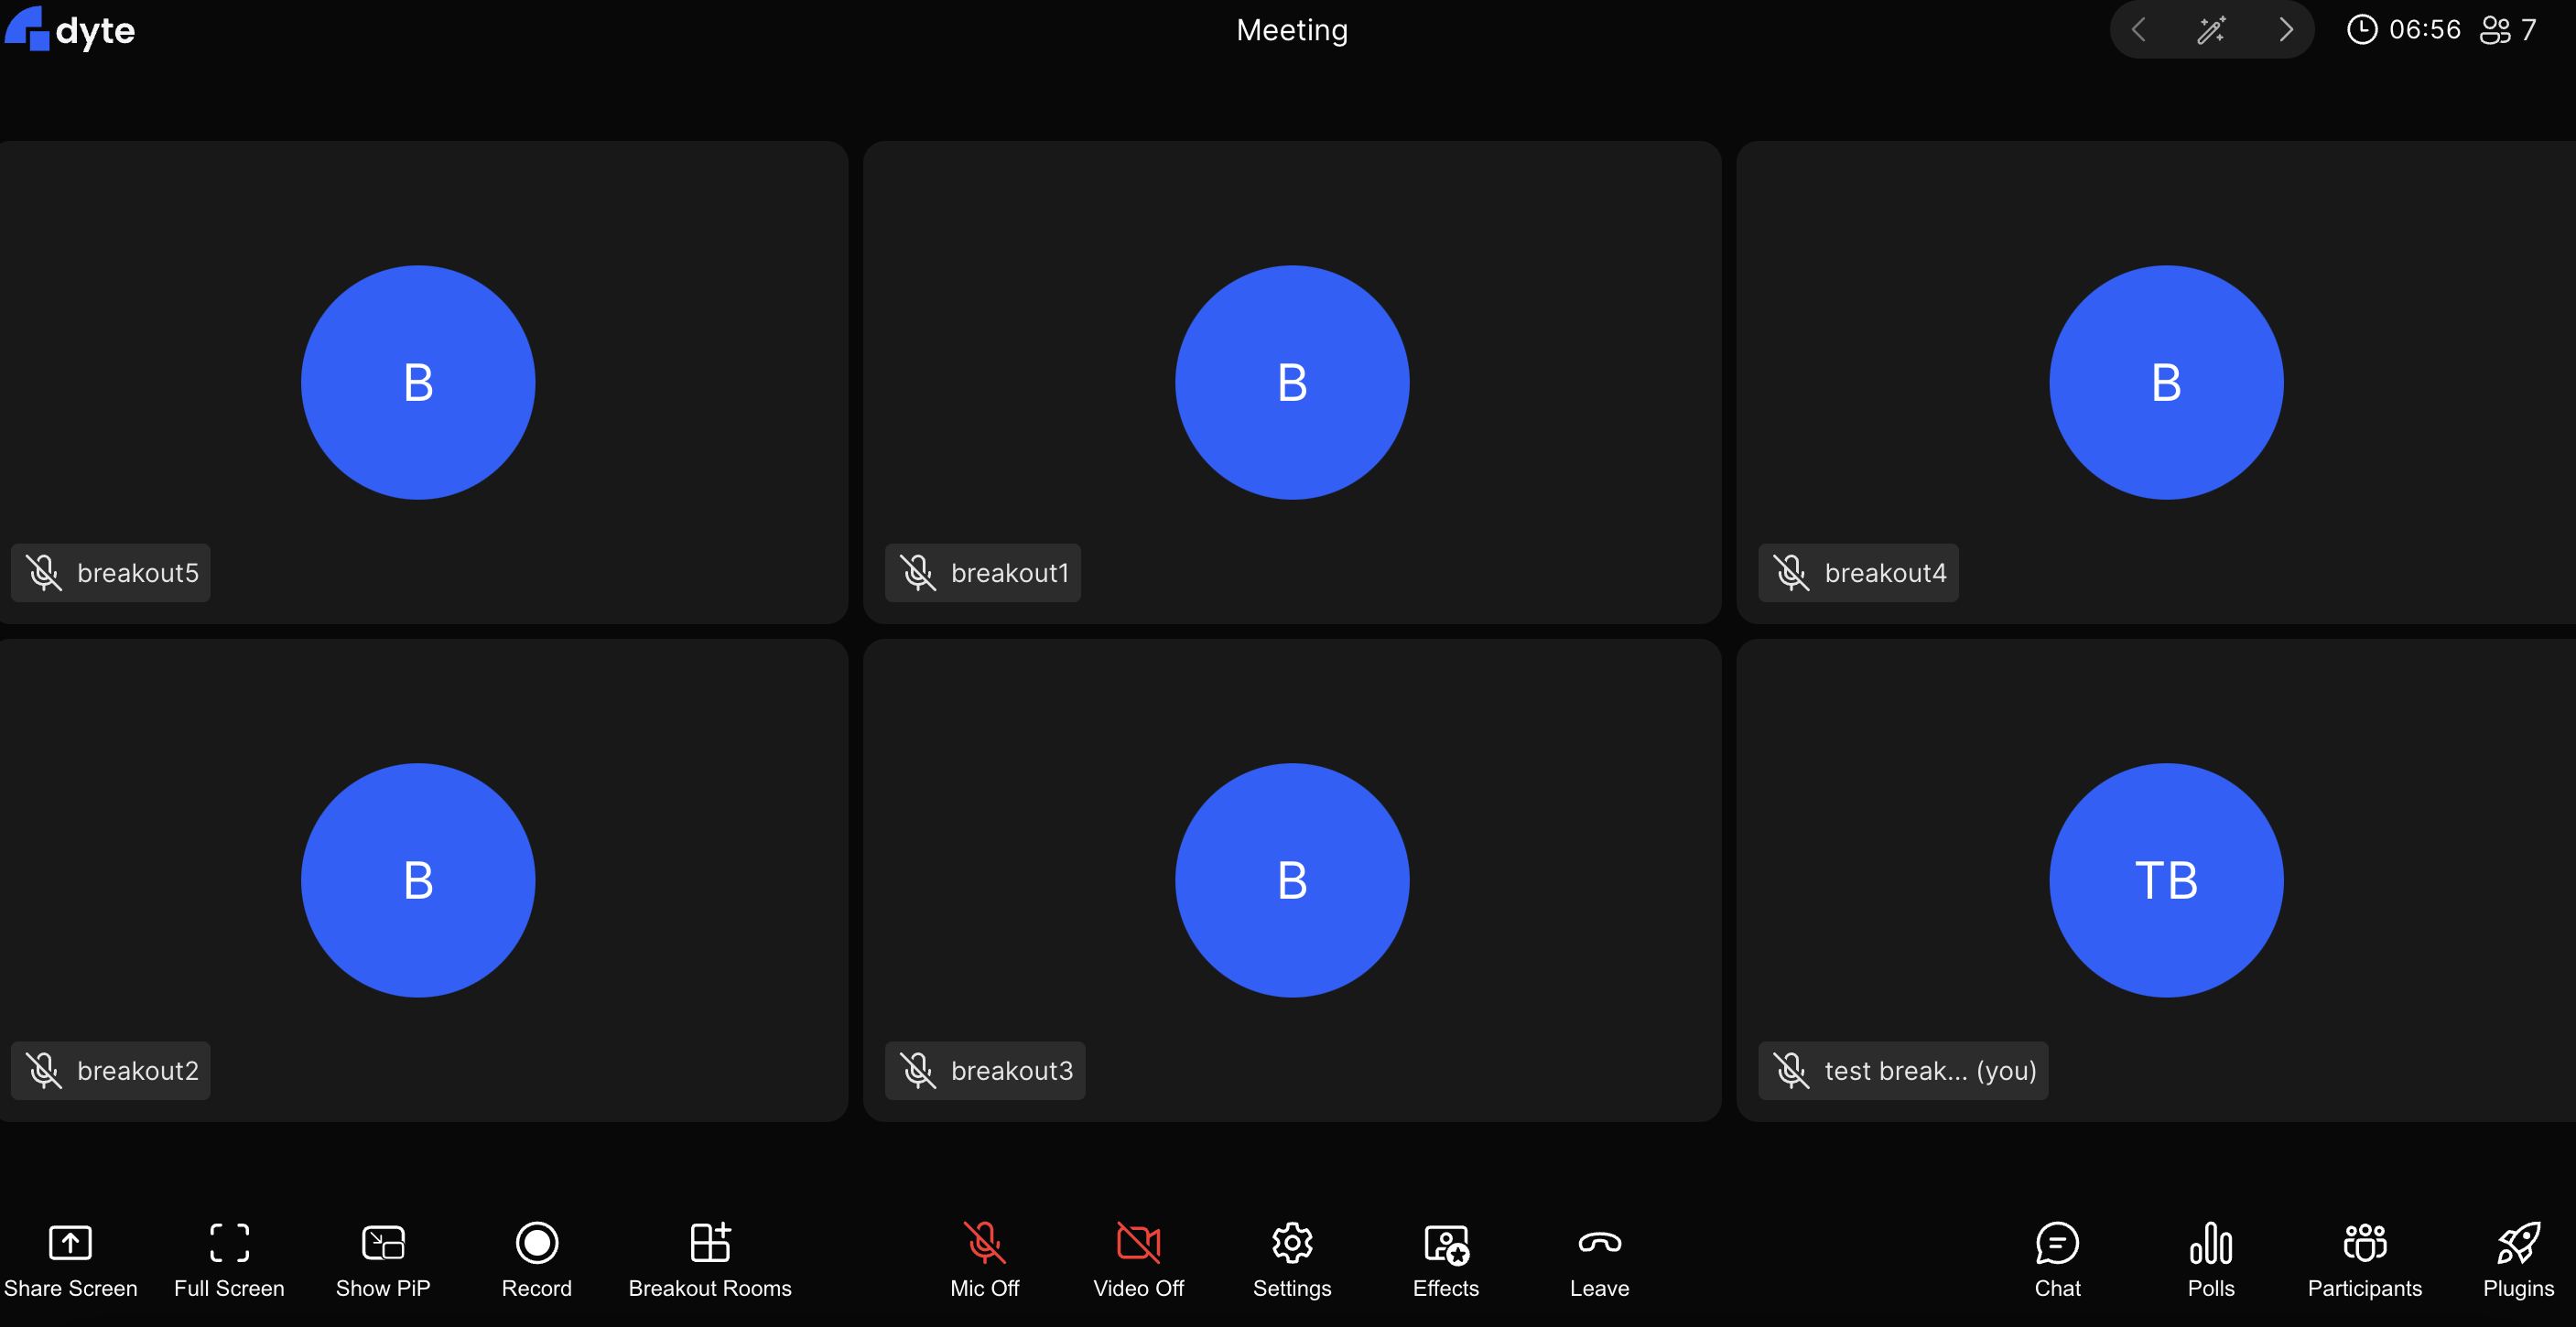
Step 6: Start Breakout Room
- In your Dyte meeting, click Breakout Rooms.
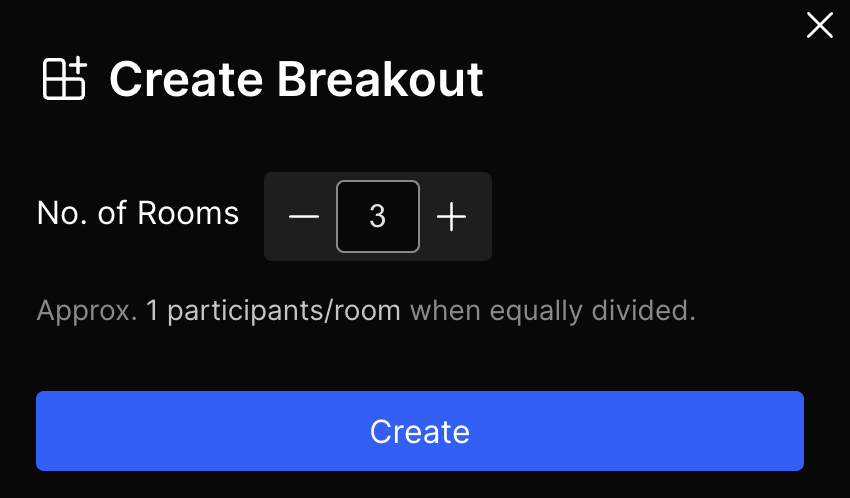
- In the Create Breakout, add the number of rooms you want and click Create.
Once you've created a breakout room, assign participants to the breakout rooms. You have the option to either individually select the participants and add them to the room manually or allow Dyte to split your participants evenly across the rooms.
Assign participants automatically
To assign participants automatically, do the following:
- In the Assign Participants, click the shuffle button.
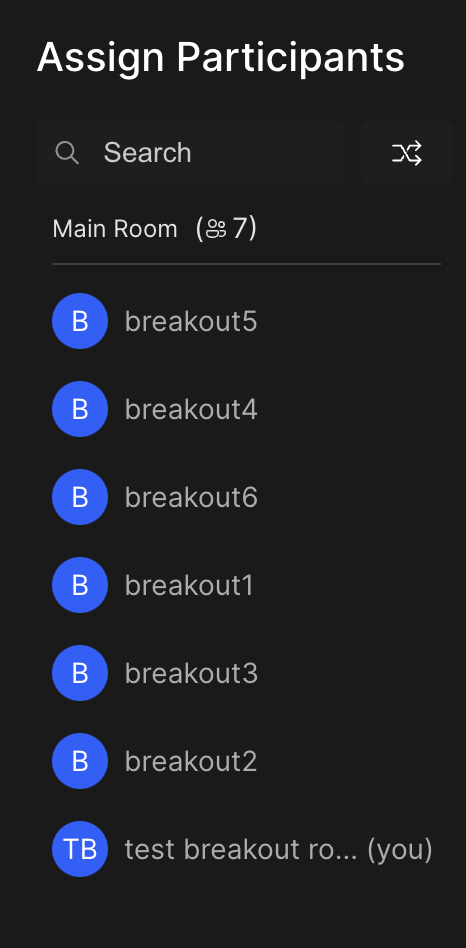
- Participants are assigned to the rooms.

- You can also edit the room names. To edit the room name, click the pencil icon beside the room name.

-
You can also choose to move the participants to different rooms.
-
Once you've made all the changes, click Start Breakout.
-
Click Yes, start in the Start breakout rooms pop-up. You will enter the breakout room.
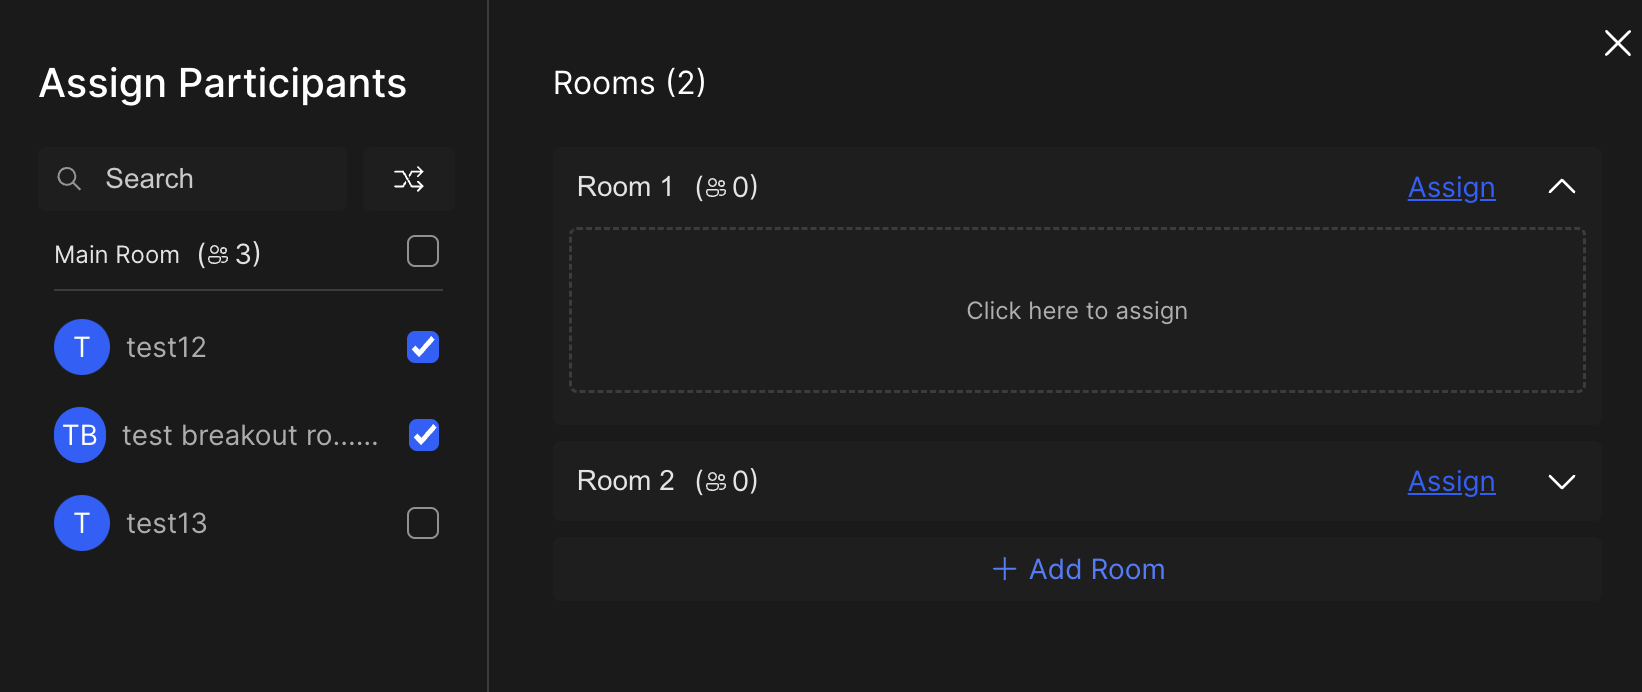
Assign participants manually
You can select which participants you would like in each room. To assign participants manually, do the following:
- In the Assign Participants, select the participant/s that you want to assign to a room.
-
In the Rooms, click Assign.
-
Once you've assigned all the participants to the rooms of your choice, click Start Breakout.
-
Click Yes, start in the Start breakout rooms pop-up. You will enter the breakout room.